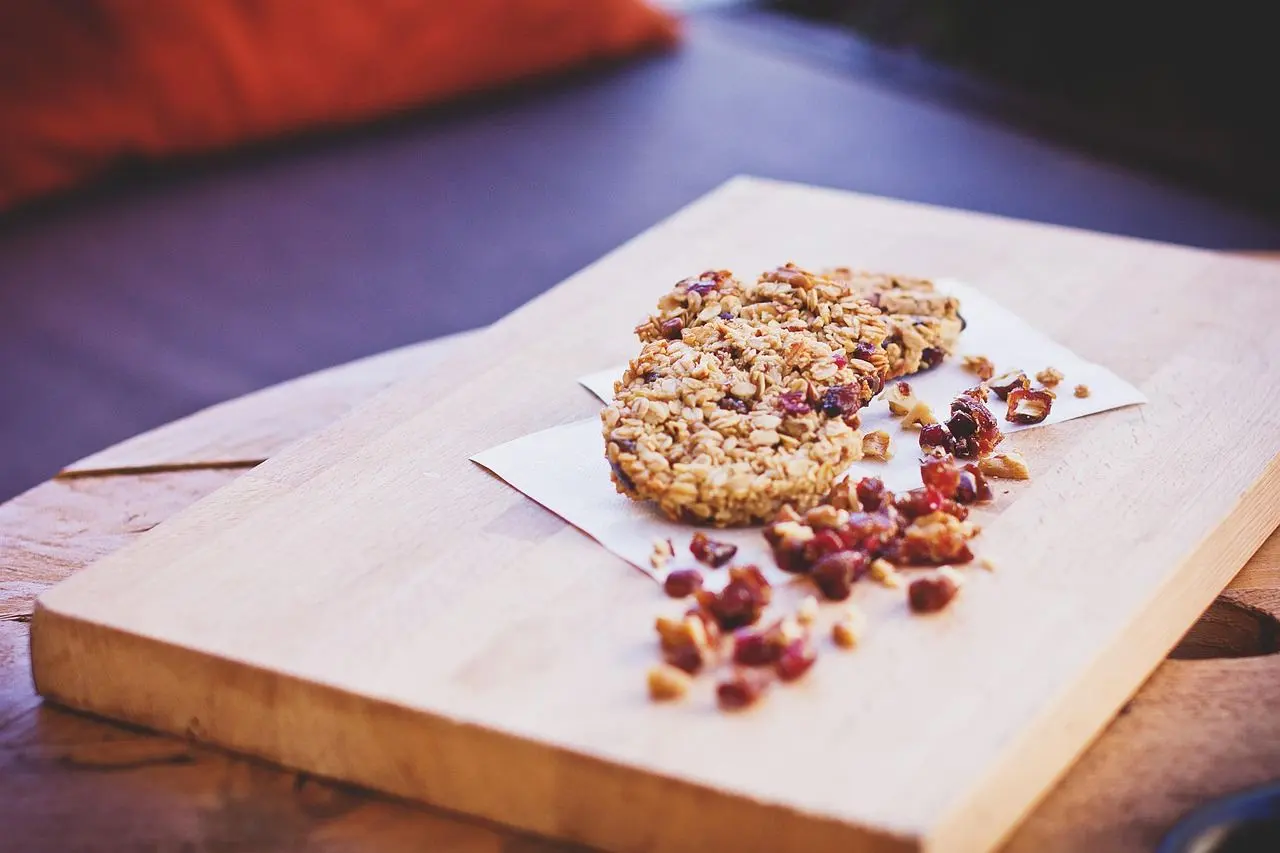
You want homemade granola bars that hold together without a trip to the shop. Stir oats, nut butter and honey, press the mix into a pan, chill it for 1 hour, then slice.
More quick ideas are collected in the easy snack recipes hub.
| Item | Value |
|---|---|
| Prep time | 5 minutes |
| Chilling time | 1 hour |
| Servings per batch | 8 servings |
| Pan size | 8×8 baking pan |
| Fridge storage | up to a week |
| Freezer storage | up to 2 months |
These figures come from the no-bake recipe at Love and Lemons. Recipes get updated, so check the source before you rely on them.
What you need for homemade granola bars
The no-bake version from Love and Lemons uses 7 basic ingredients. Nut butter and honey act as the glue, and rolled oats supply the chew.
The quantities that recipe lists for one 8×8 pan are:
- 1 cup very smooth, creamy natural peanut butter (or cashew butter)
- ⅔ cup honey
- 1 teaspoon vanilla extract
- a heaping ½ teaspoon sea salt
- 2½ cups whole rolled oats
- ⅓ cup mini chocolate chips
- 3 tablespoons pepitas, or crushed peanuts or cashews
Texture depends on the binder. Runny, natural nut butter matters, because the same source says a dry or thick one won’t bind the oats, chips and nuts or seeds into cohesive bars.
Chip size matters too. Regular chocolate chips are too big to make cohesive bars, so chop a dark chocolate bar small if you have no mini chips.
How to make the no-bake bars
Hands-on work is about 5 minutes according to Love and Lemons. The rest is waiting for the fridge to do its job.
- Line an 8×8 baking pan with parchment paper.
- In a large bowl, stir the nut butter, honey, vanilla and salt until smooth.
- Add the oats, chocolate chips and pepitas. The mixture may look dry at first, but keep stirring and it comes together.
- Press the mixture firmly into the pan, using a second sheet of parchment and the back of a measuring cup to flatten it.
- Chill for at least 1 hour, then slice into bars.
Don’t cut the chilling short. The slab needs that time to turn chewy and cohesive rather than sticky and loose.
Baked, crunchy or no-bake: which method suits you?
Several well-known recipes take a different route, so the method you pick sets the texture. Here is how four of them differ:
- Chewy, baked: Well Plated bakes toasted oats, nuts and a peanut butter and honey mix at 300 degrees F, and says to pull the bars out after 15 minutes for a chewy result.
- Crunchy, baked: the same page says 20 minutes total gives crunchier bars.
- Crisp-rice, baked: Once Upon a Chef adds crisp rice cereal and bakes the pressed mixture for 20 to 23 minutes.
- Honey candy, no oven: Food in Jars simmers honey and coconut oil for 10 to 12 minutes, then lets the pressed bars cool until firm.
Nutrition varies by recipe, so compare like with like. Once Upon a Chef lists 140 kcal and 12 g of sugar per serving across 16 servings, but notes that its data has not been evaluated by a nutritionist (source). Well Plated reports 7 grams of protein and 4 grams of fiber per serving for its own bars (source).
Mix-ins and swaps that still hold together
Love and Lemons suggests shredded unsweetened coconut, chopped dried cranberries, sunflower seeds or dried currants in place of some chips. Chop dried fruit and nuts small and keep the original ratios, or the bars won’t hold together (source).
For baked bars, Once Upon a Chef says to sprinkle mini chocolate chips on top once the mixture is pressed into the pan, since mixing them in will melt them (source).
Dietary tweaks are possible with care:
- Vegan: Love and Lemons swaps brown rice syrup for the honey. Maple syrup is not sticky enough for bars, but it works if you roll the mixture into 16 balls (source).
- Gluten-free: use oats that are certified gluten free, as the same recipe advises.
- Nut-free: Food in Jars says to omit the almonds in its recipe and add more sunflower seeds (source).
If you want a savory crunch beside a sweet bar, the roasted chickpeas recipe is a simple pairing. The kettle corn recipe covers the sweet-and-salty side.
How long do homemade granola bars keep?
Storage advice differs by recipe, so follow the one for the version you made.
- Chilled no-bake bars: up to a week in the fridge or up to 2 months in the freezer. Frozen bars need 20 minutes at room temperature before eating (Love and Lemons).
- Crisp-rice baked bars: up to a week at room temperature, or up to 3 months frozen (Once Upon a Chef).
- Oat and peanut butter baked bars: up to 1 week at room temperature or 2 weeks in the fridge (Well Plated).
- Honey candy bars: about two weeks at room temperature, and longer in the freezer (Food in Jars).
A sheet of parchment between layers keeps sliced bars from sticking together.
Frequently asked questions
Why do my bars fall apart?
Show answer
A stiff binder or a crowded mix is the usual cause. Well Plated advises adding more peanut butter or honey if the mixture seems dry, and a little more oats if it turns out too wet.
Can I make them without honey?
Show answer
Brown rice syrup is the stand-in that Love and Lemons names for a vegan batch. It rates maple syrup as too weak a glue for bars, though it is fine for energy balls.
Do I need an oven?
Show answer
Not always. The chilled recipe above skips it entirely, and Food in Jars also skips baking, simply letting its pressed slab cool until it firms up.
Can I use a different nut butter?
Show answer
Yes. Well Plated says any nut butter you enjoy will work, but results shift with the brand, so adjust the wet and dry balance as you go.